PRODUCTION GUIDE · RESIN SOUVENIR MAGNETS
How UV-printed resin
fridge magnets are made.
UV-printed resin fridge magnets combine a molded resin body with digitally printed colour. The design is developed into an original, reproduced through silicone molds and cast as white blanks. Colour is then printed and UV-cured before magnetic backing and packaging. Buyers should approve the physical shape, printed sample and assembled packaging—not only the original artwork.
Explore the production steps ↓
ONE COLLECTION, DISTINCT STAGES
Follow the Madrid designs.
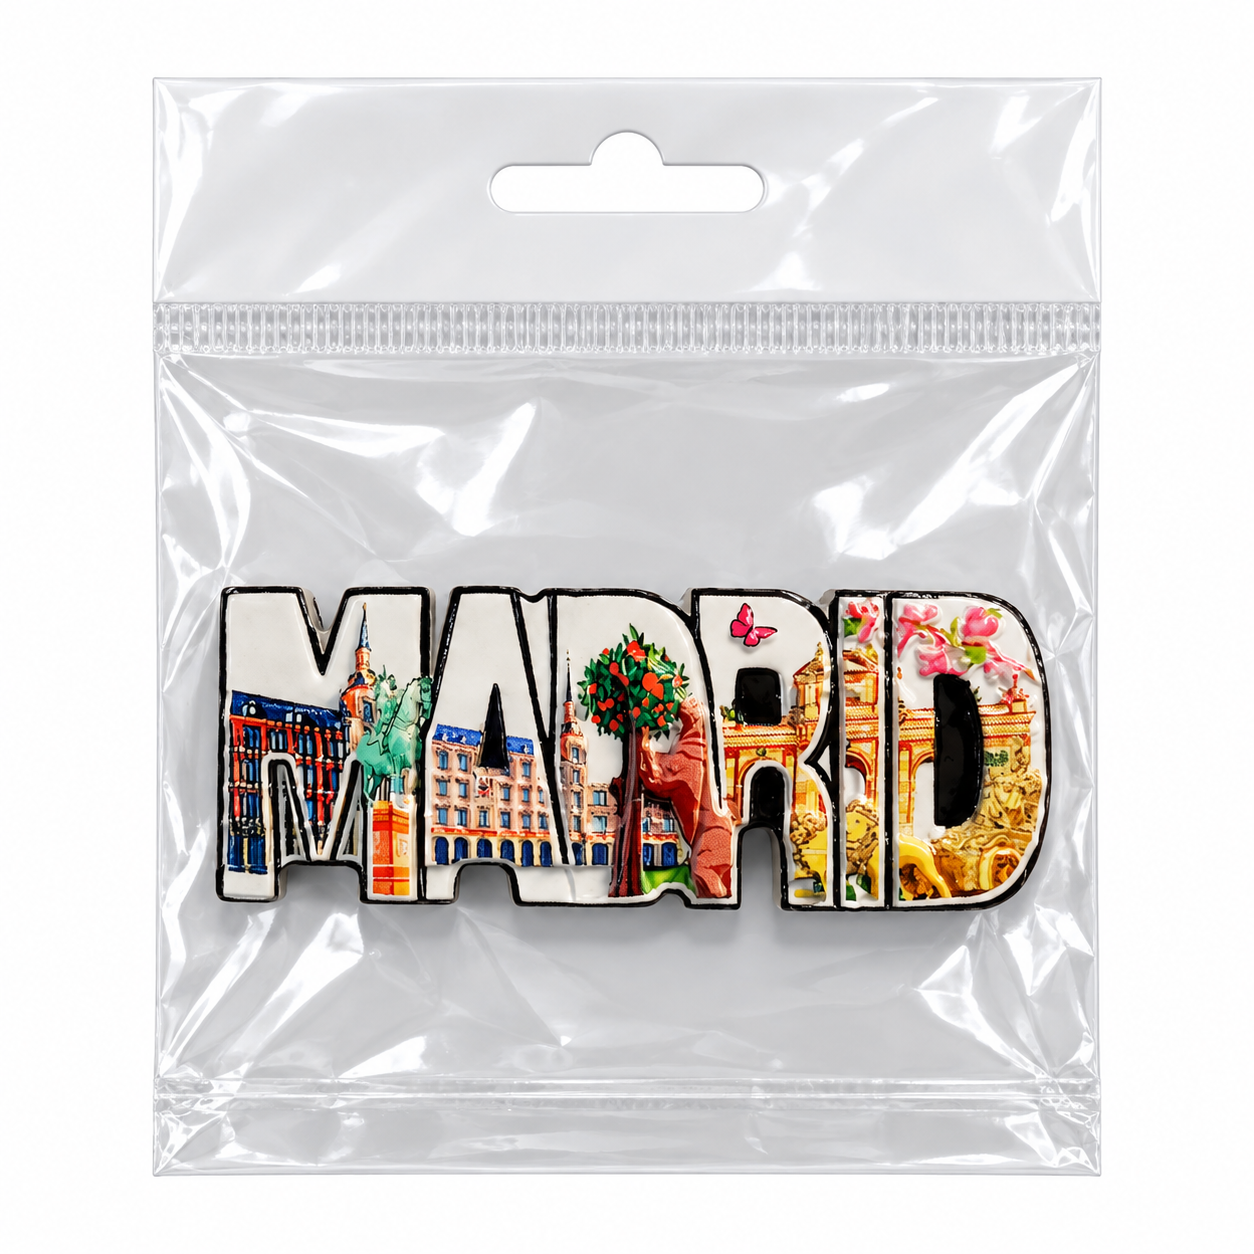
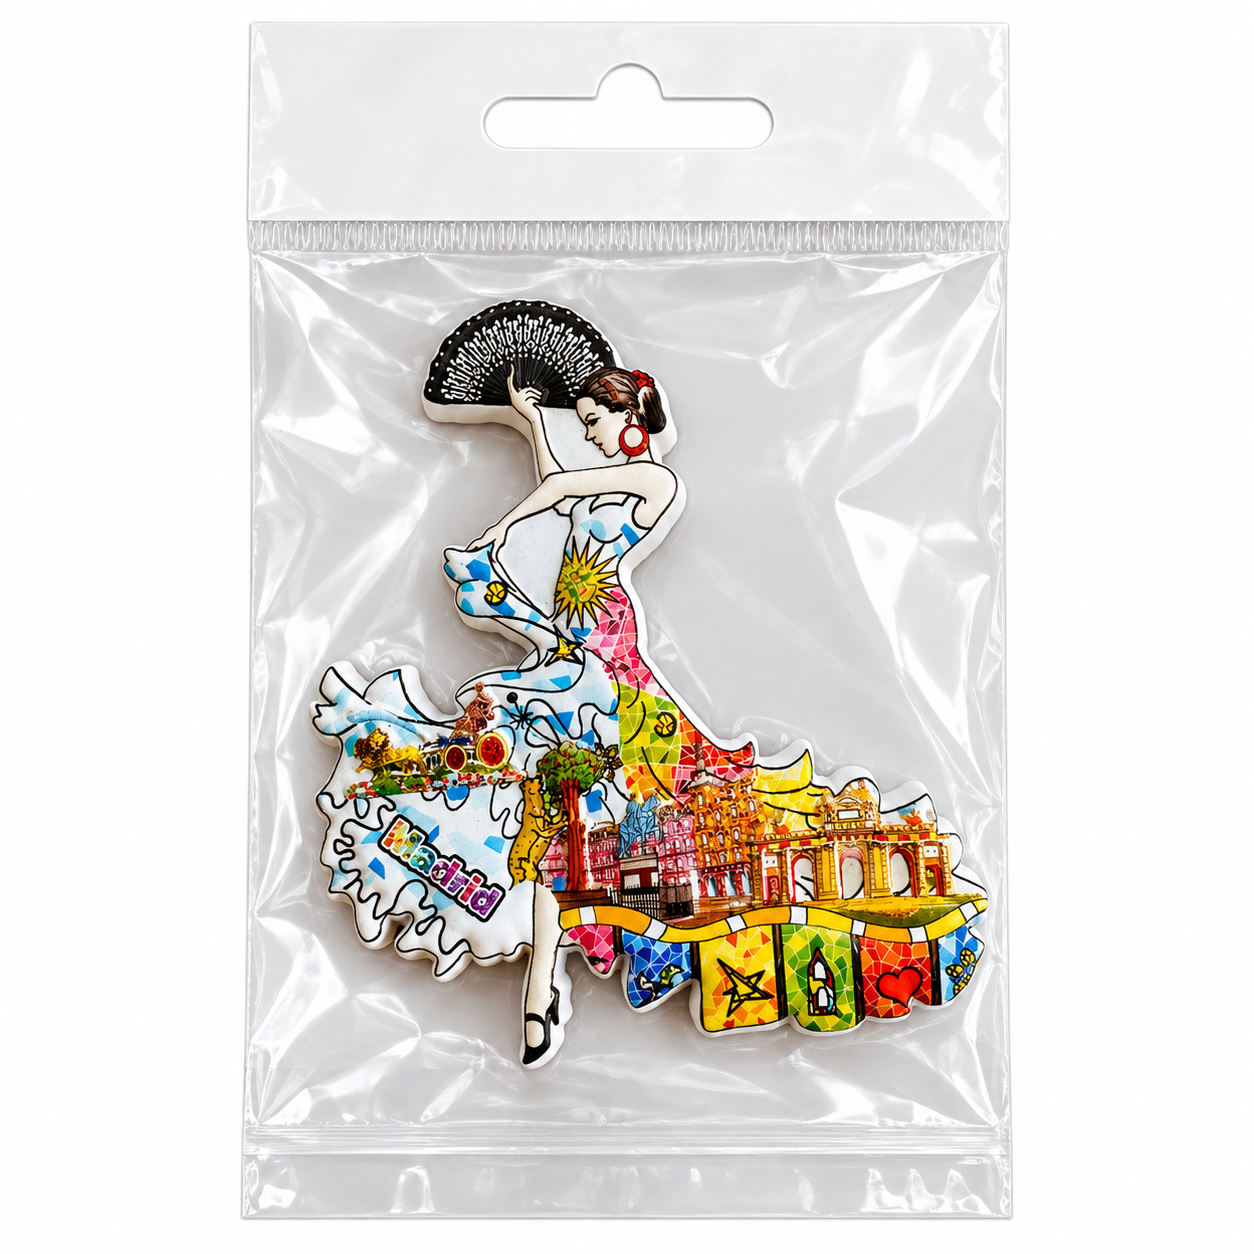
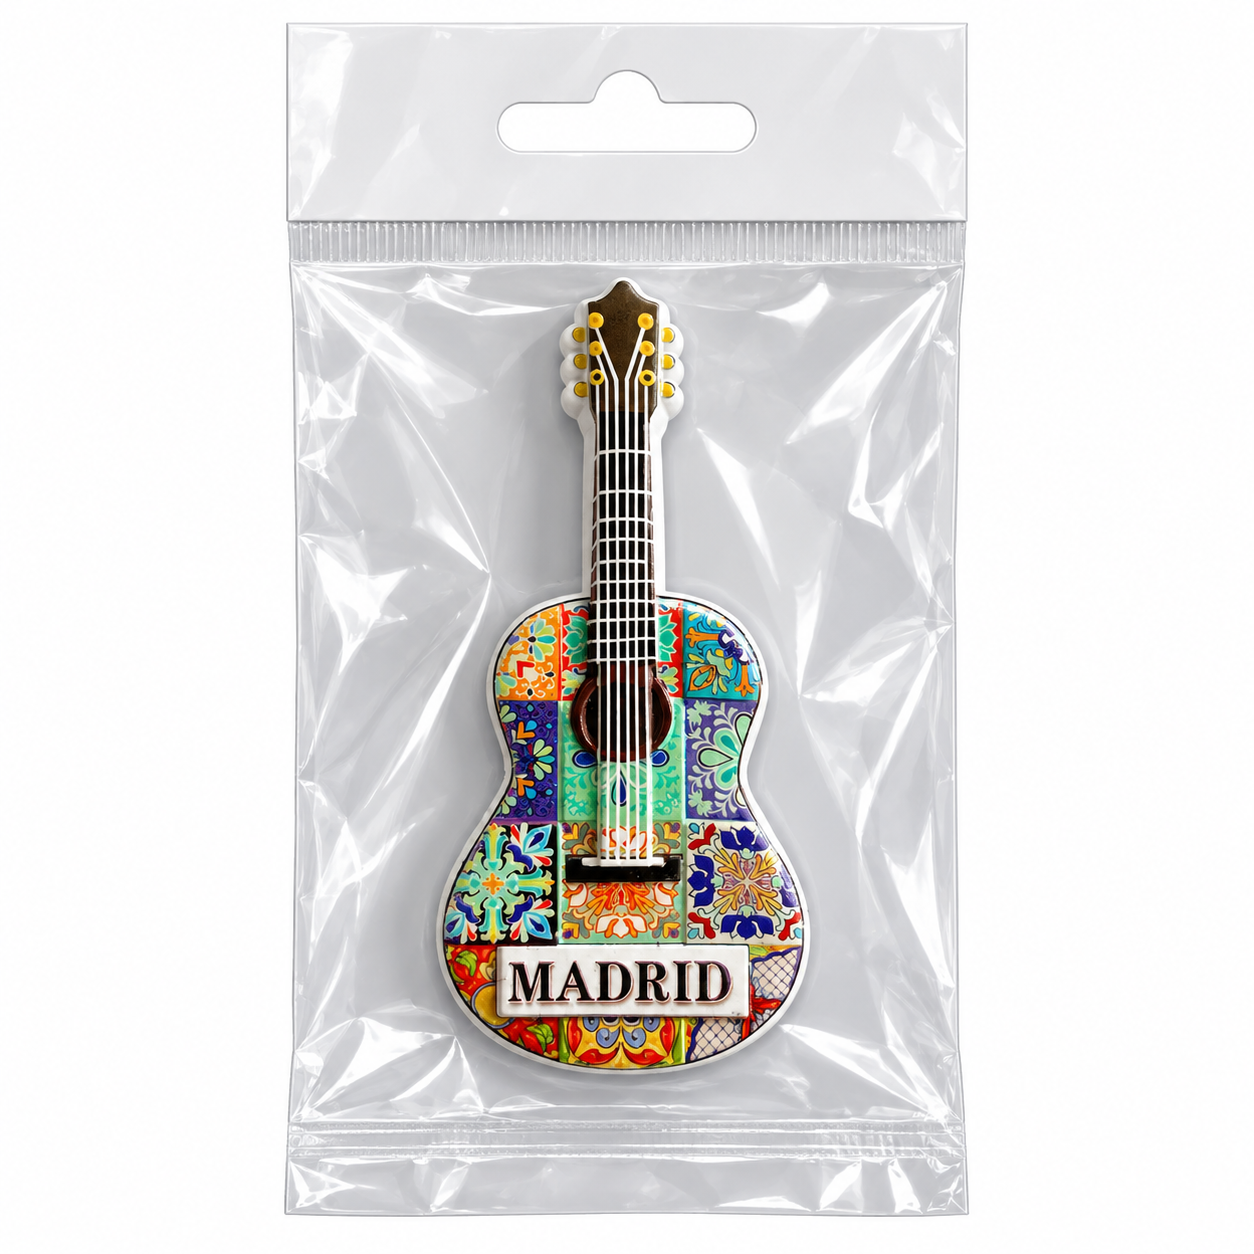
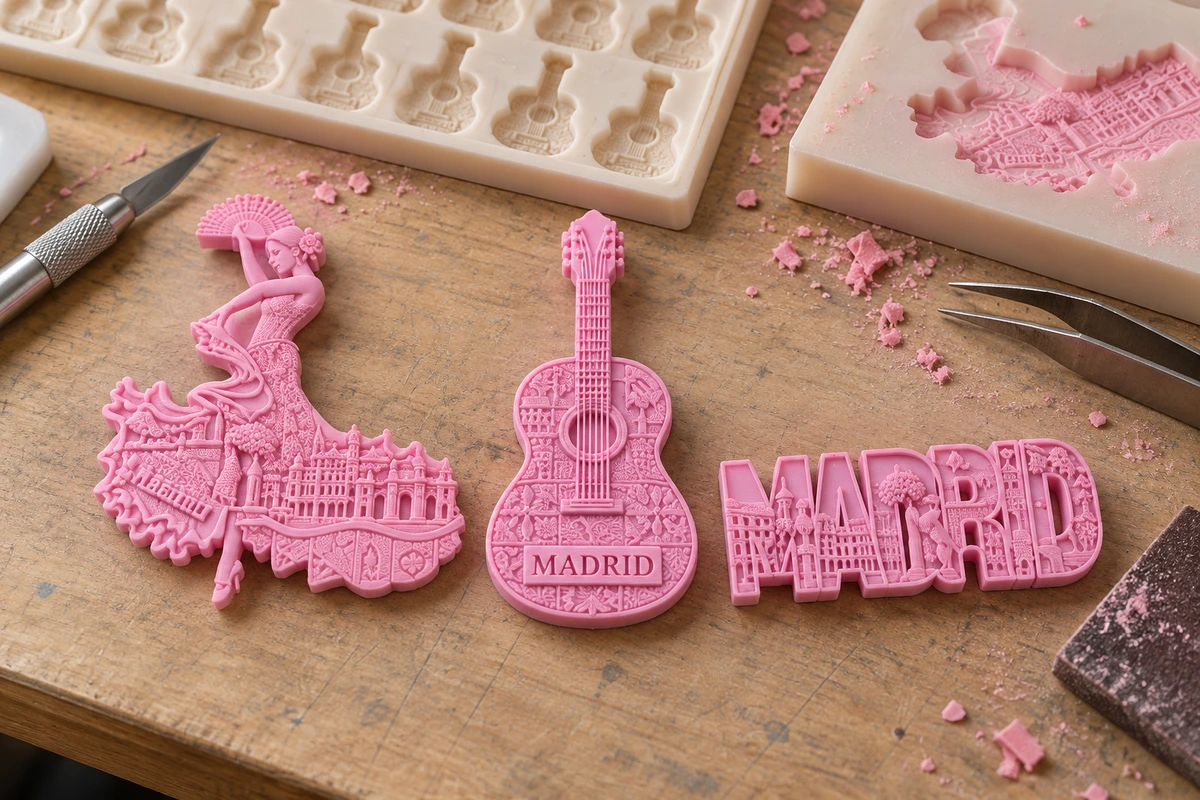
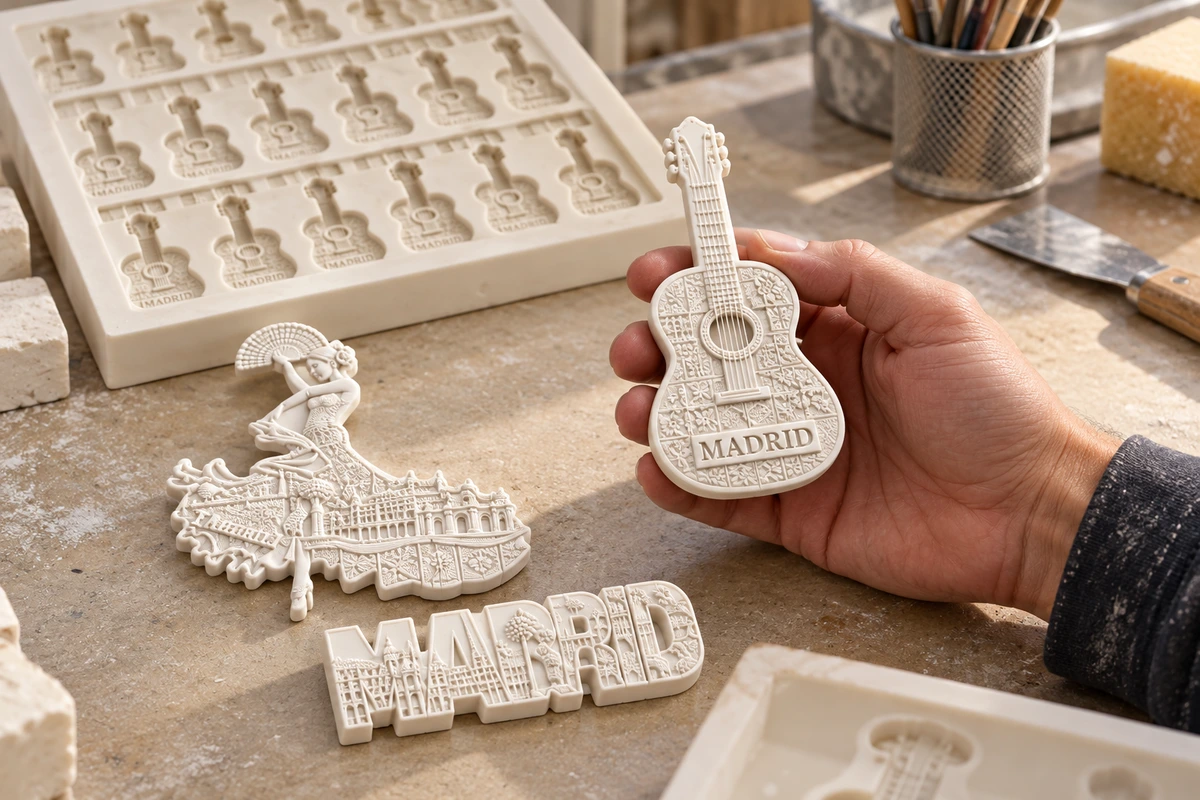
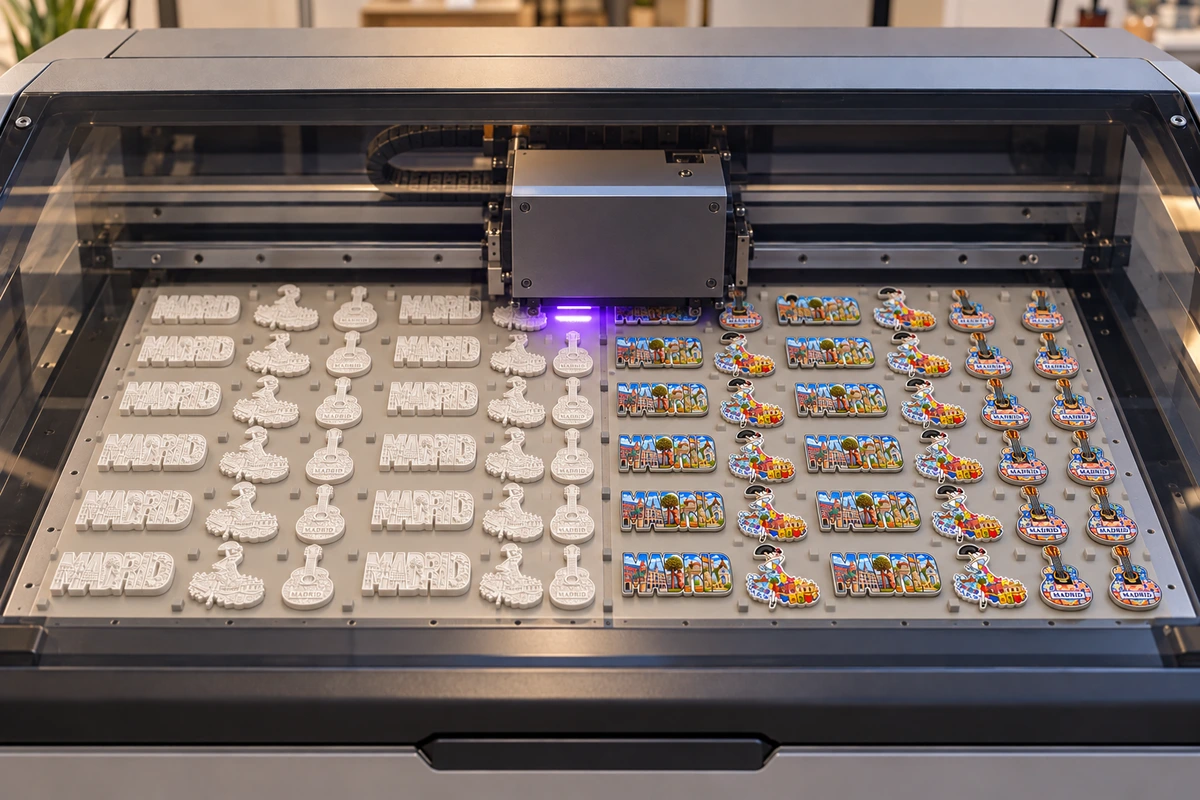
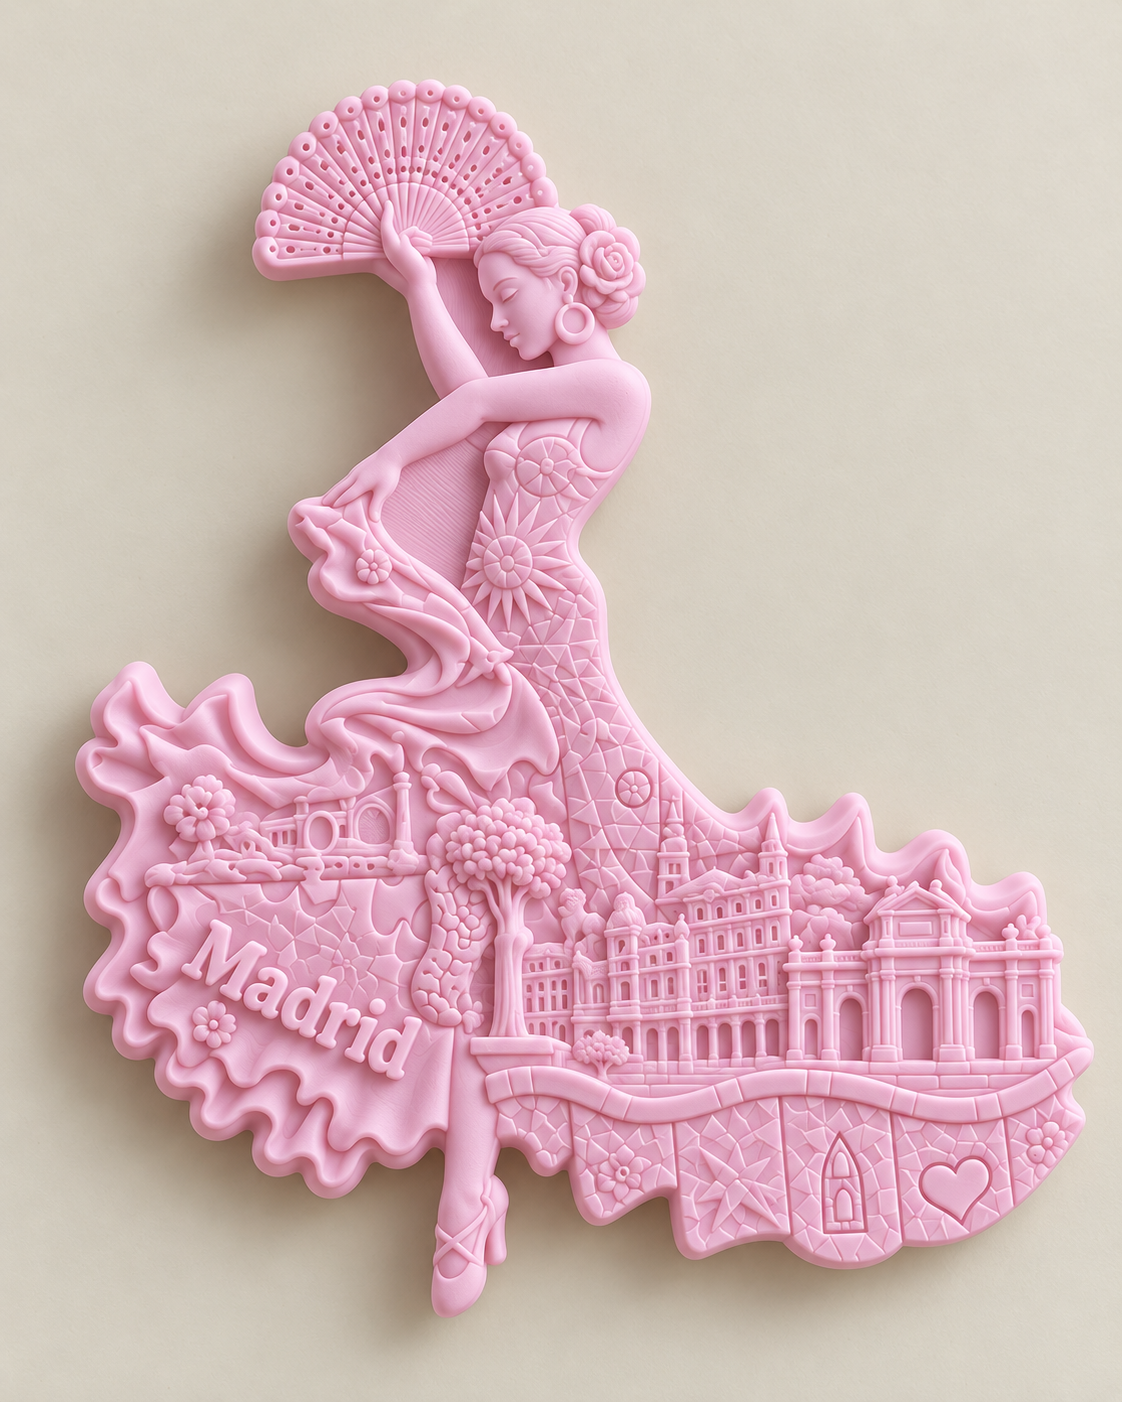
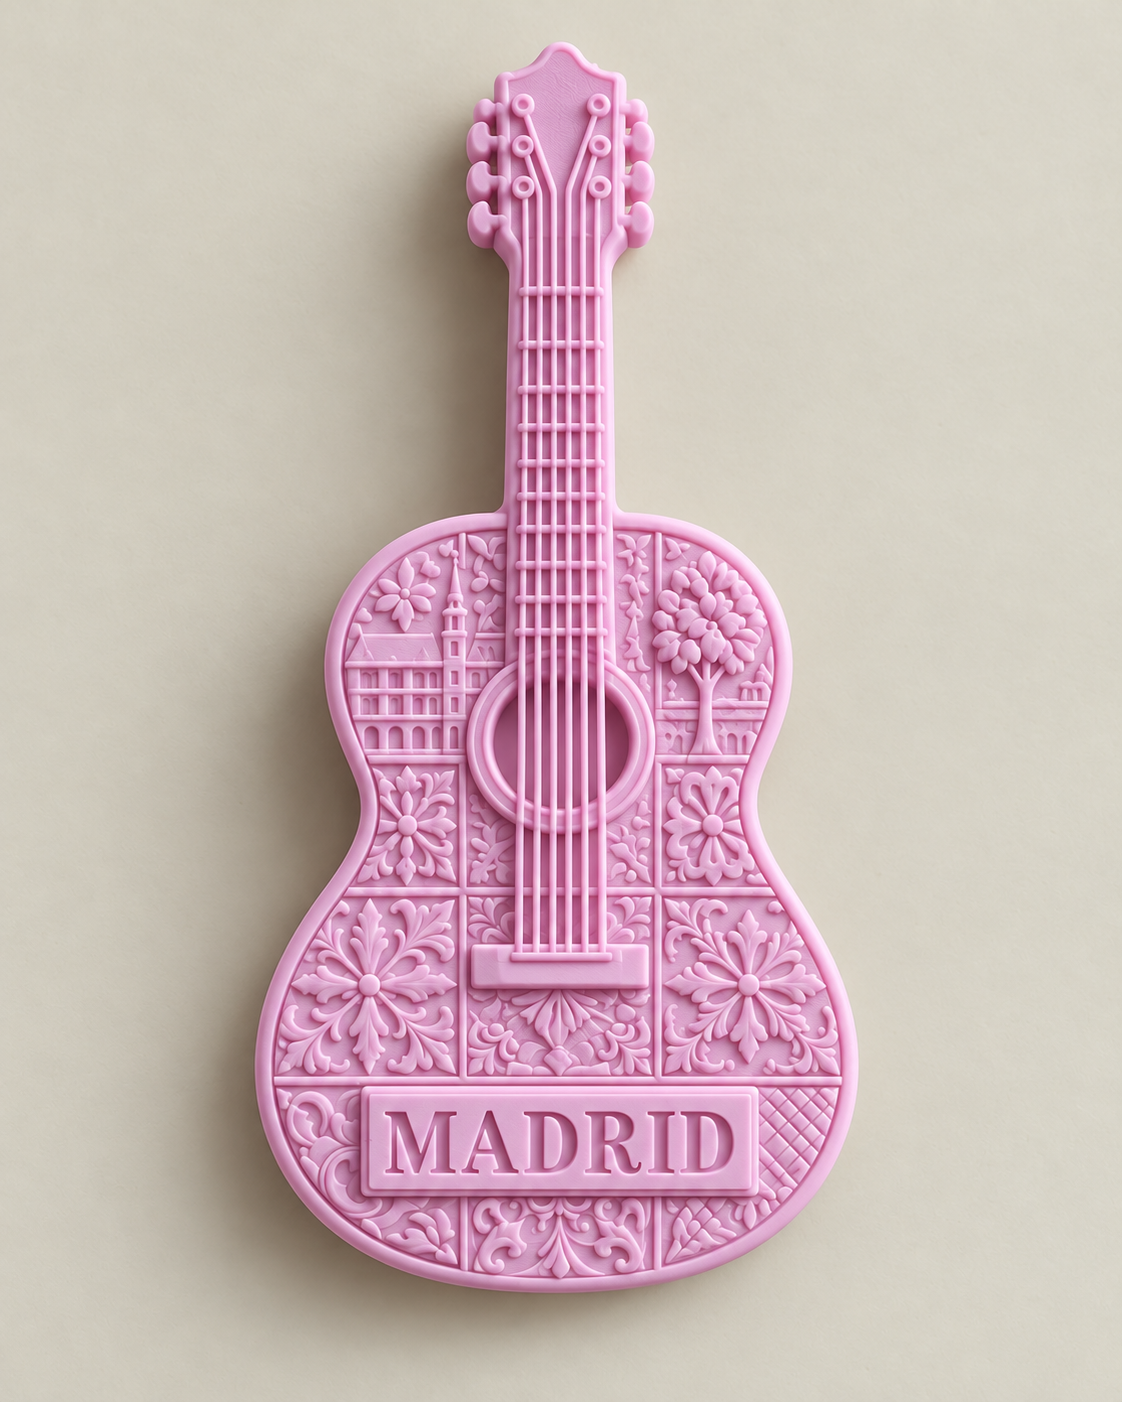
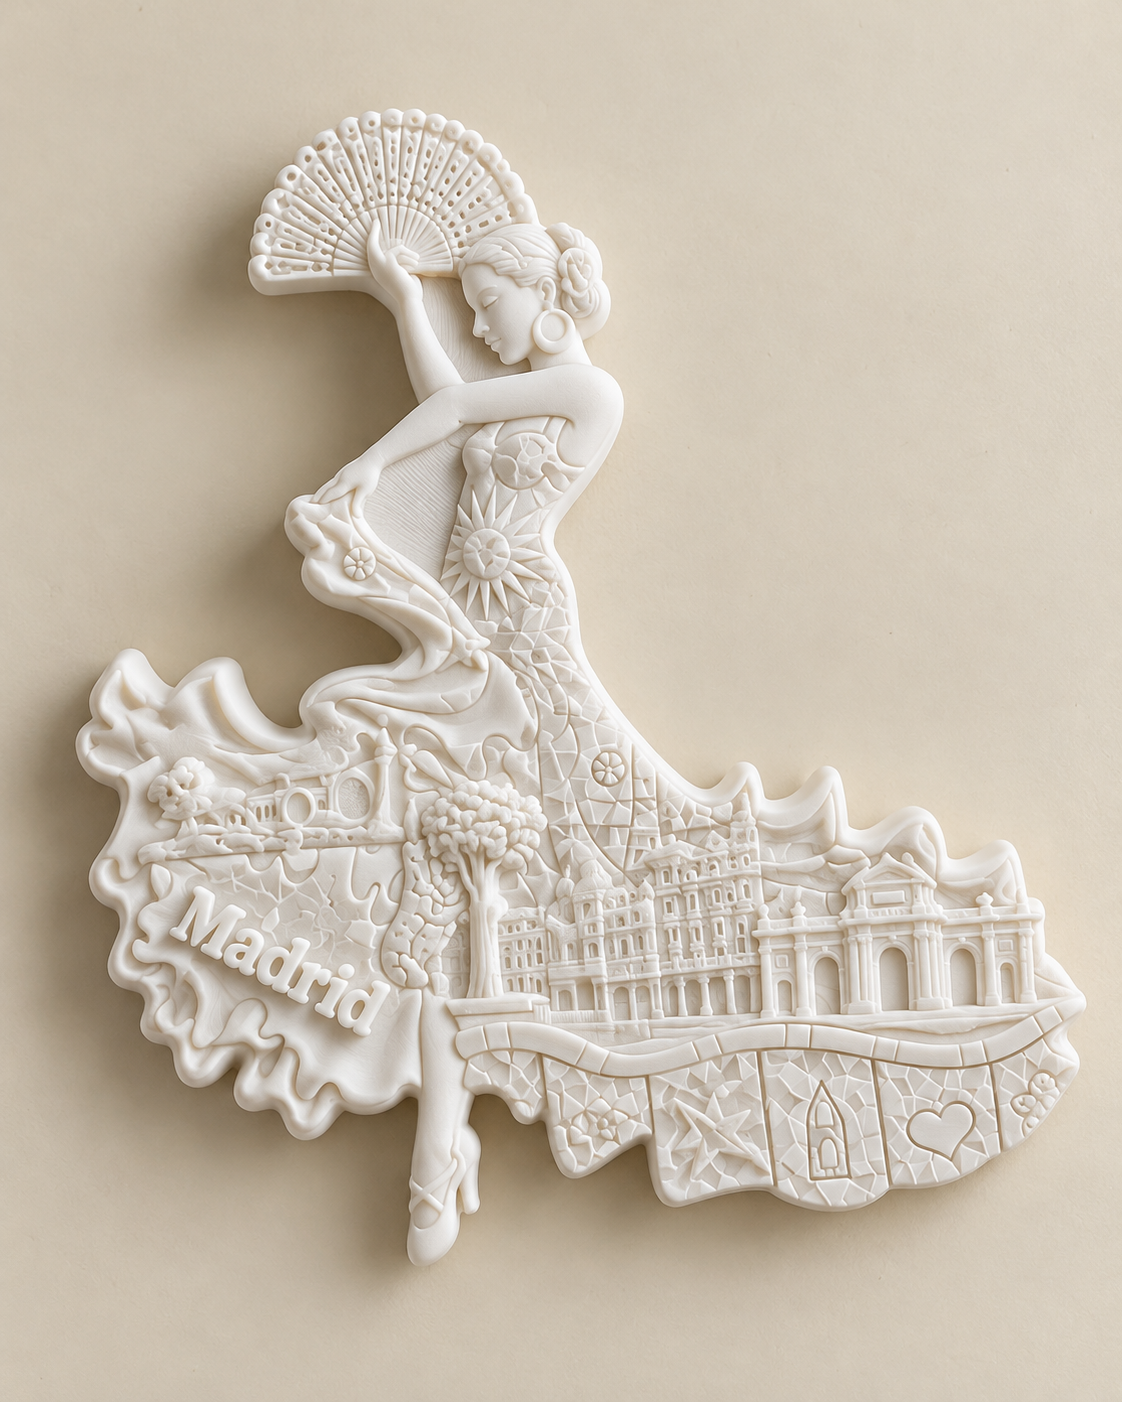
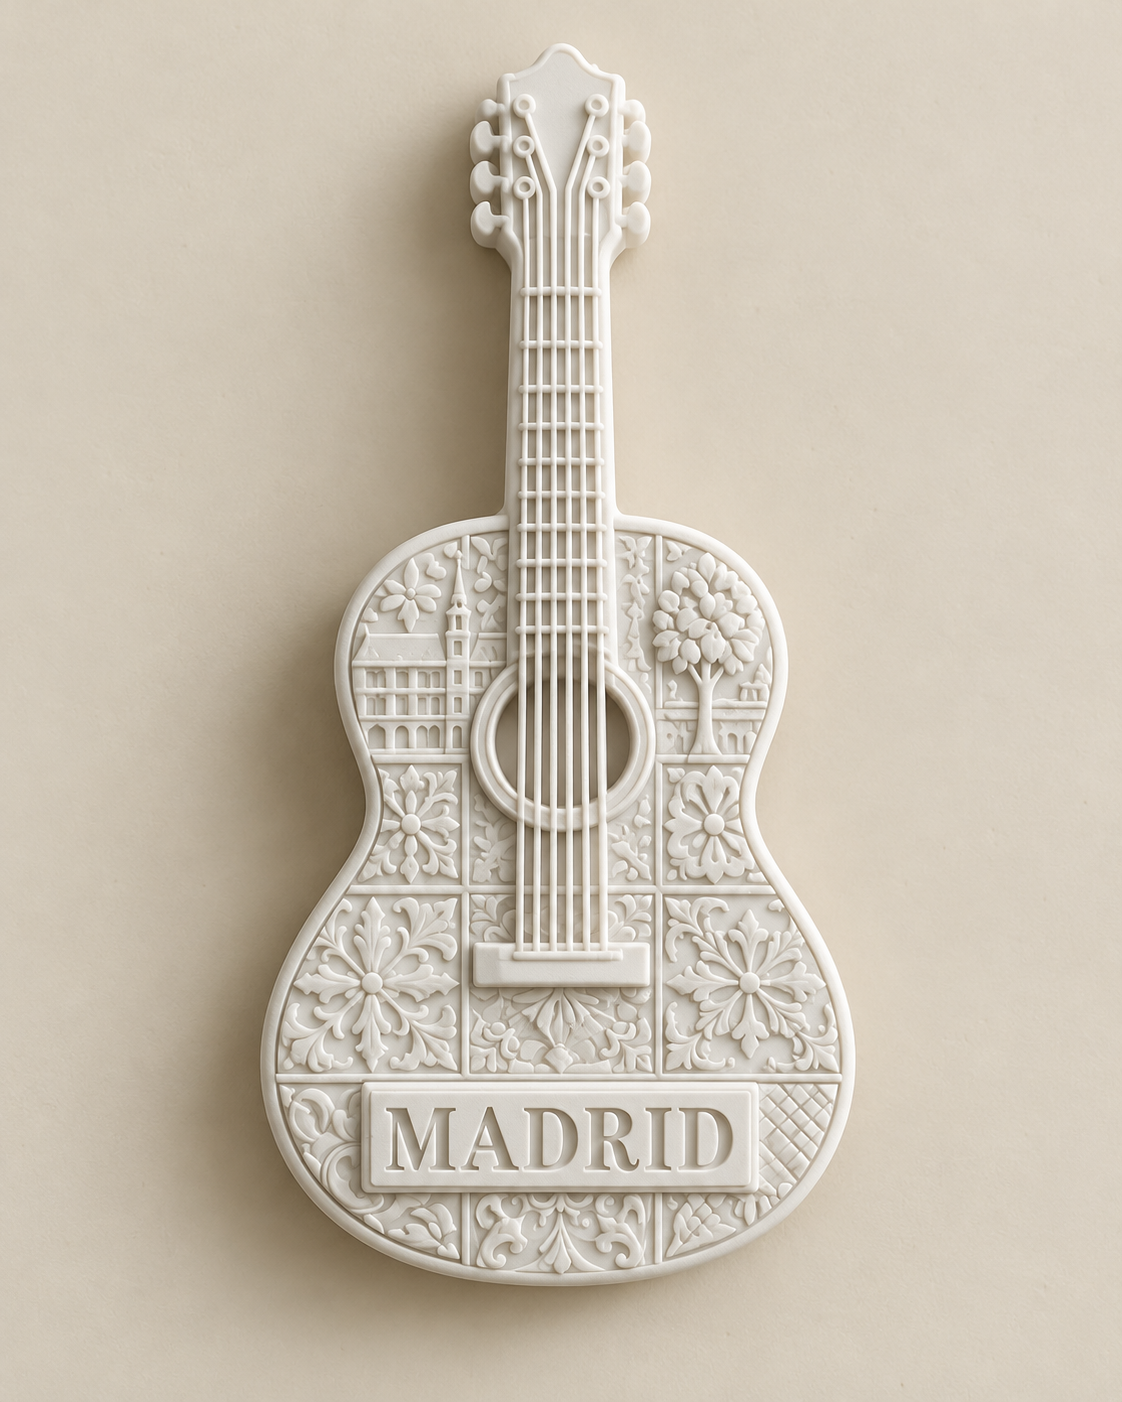
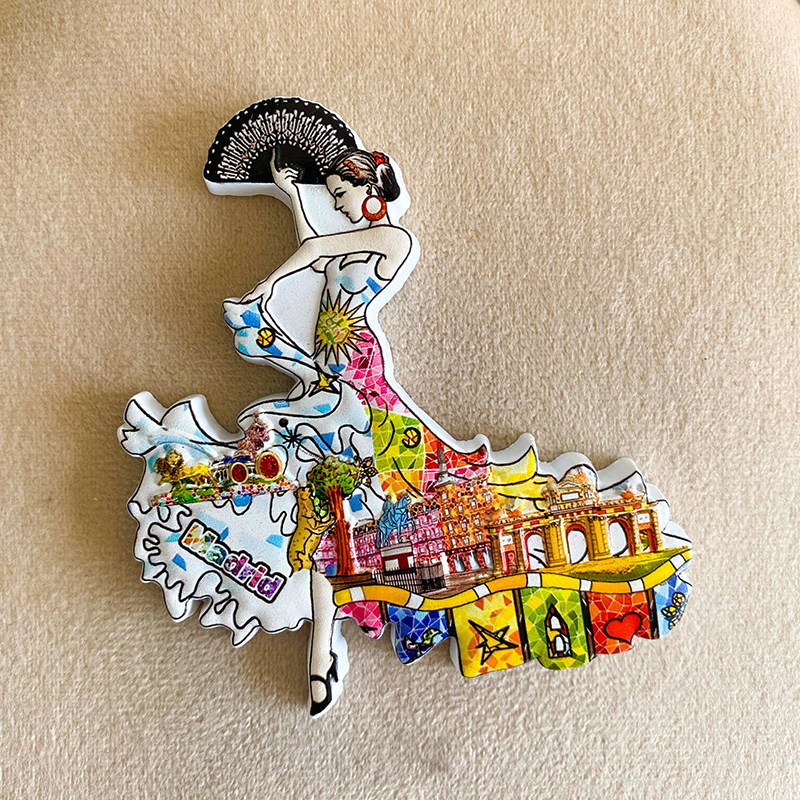
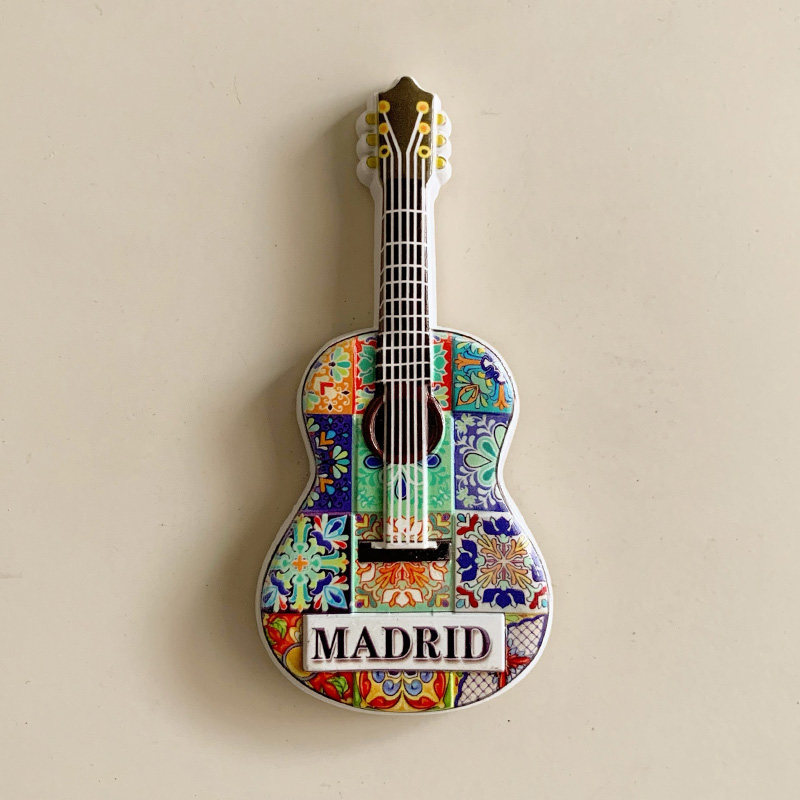
The lettering, dancer and guitar were developed by Yiwu Superstar from a Spanish souvenir retailer’s ideas. These three products illustrate the confirmed production route. White mold patterns used for tooling are distinct from the final resin blanks that receive colour.
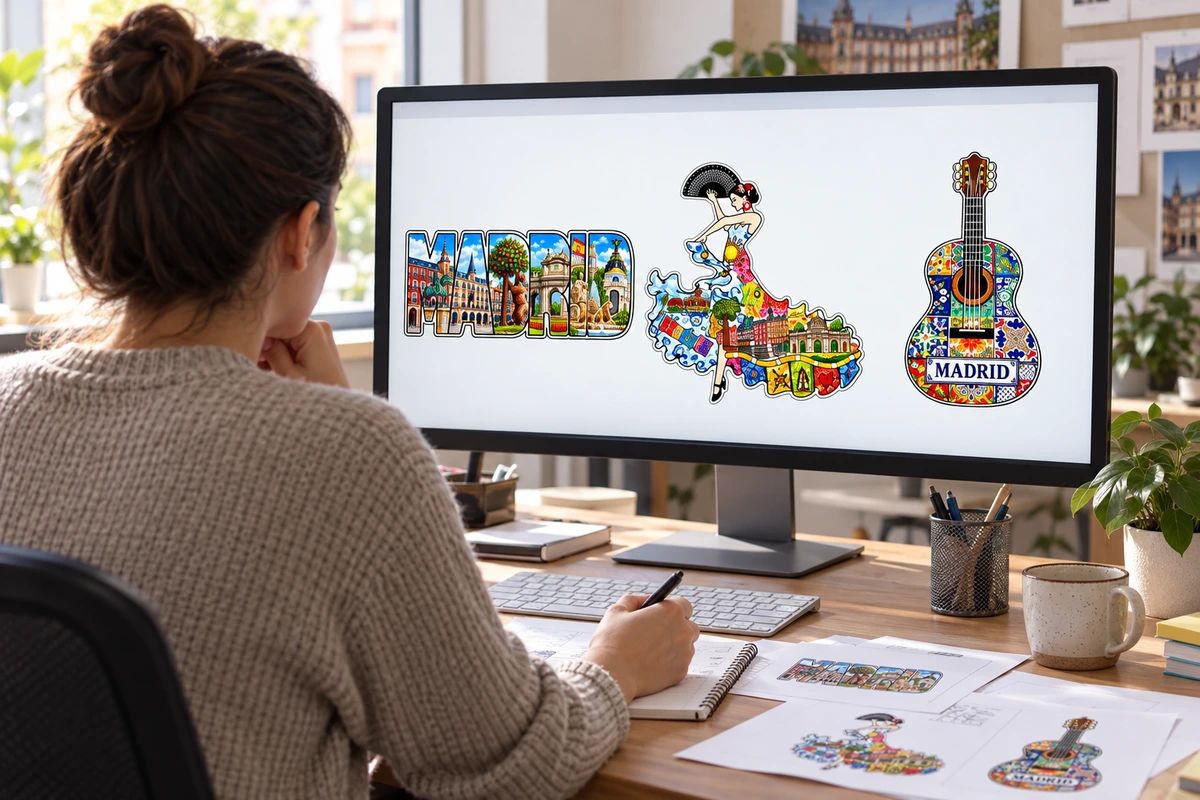
Workshop scenes below are illustrative reconstructions based on supplied product references, not original photographs of this order. Reconstructed fine detail and equipment are not exact manufacturing records. Original product photographs are available below.
Resin specifications and design references ↗ARTWORK → ORIGINAL → MOLDS → CASTING → UV COLOUR → MAGNET → PACKAGING
From design to a finished souvenir.
STEP 01
Confirm the design before making tools
The three Madrid designs—destination lettering, a dancer and a guitar—were developed from the customer’s ideas. Confirm spelling, outline, artwork version, approximate dimensions and quantity per design before making the physical original. Small text and fine landmark details must remain readable at the actual product size.
STEP 02
Develop the physical original
A computer-controlled process produces the original shape and relief. Review the outline, raised features, recesses and vulnerable projections. This stage establishes the three-dimensional body; a colour artwork file alone cannot confirm its physical structure. Resolve shape changes before further mold development.
STEP 03
Make the initial mold and reproduce mold patterns
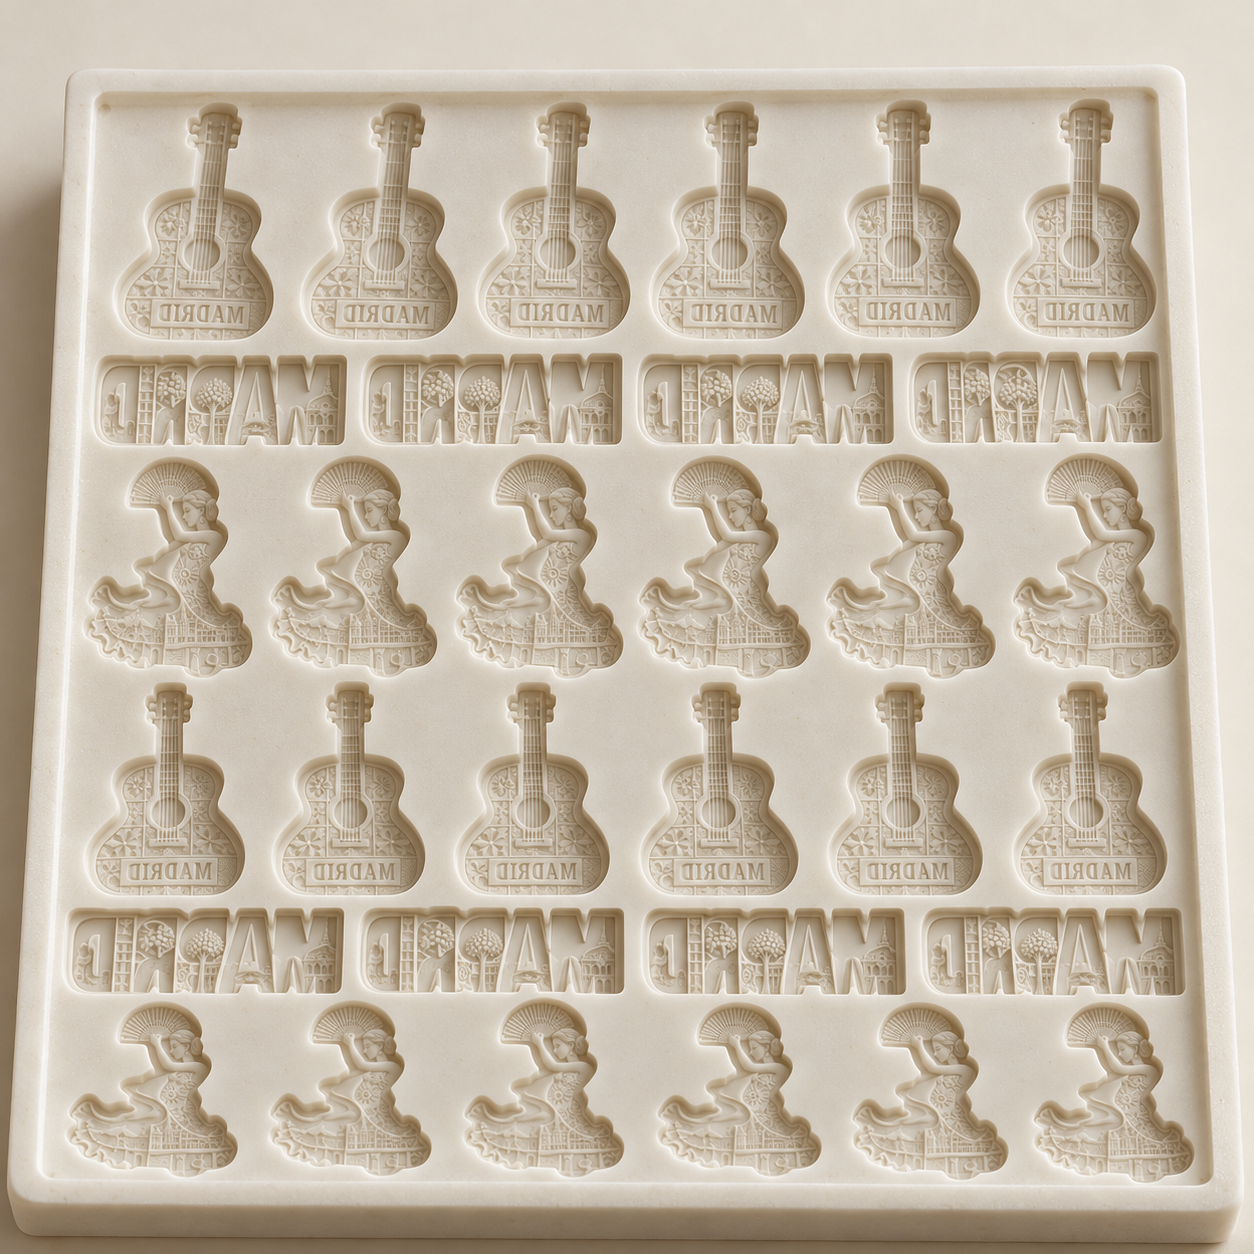
An initial mold is made from the original. White copies are produced, checked and used as patterns for the production mold. These mold patterns are tooling intermediates: they are not the final blanks that receive UV printing. Damage or unwanted marks on a pattern can be reproduced in later castings, so detail review belongs before production tooling.
STEP 04
Prepare the multi-cavity silicone mold
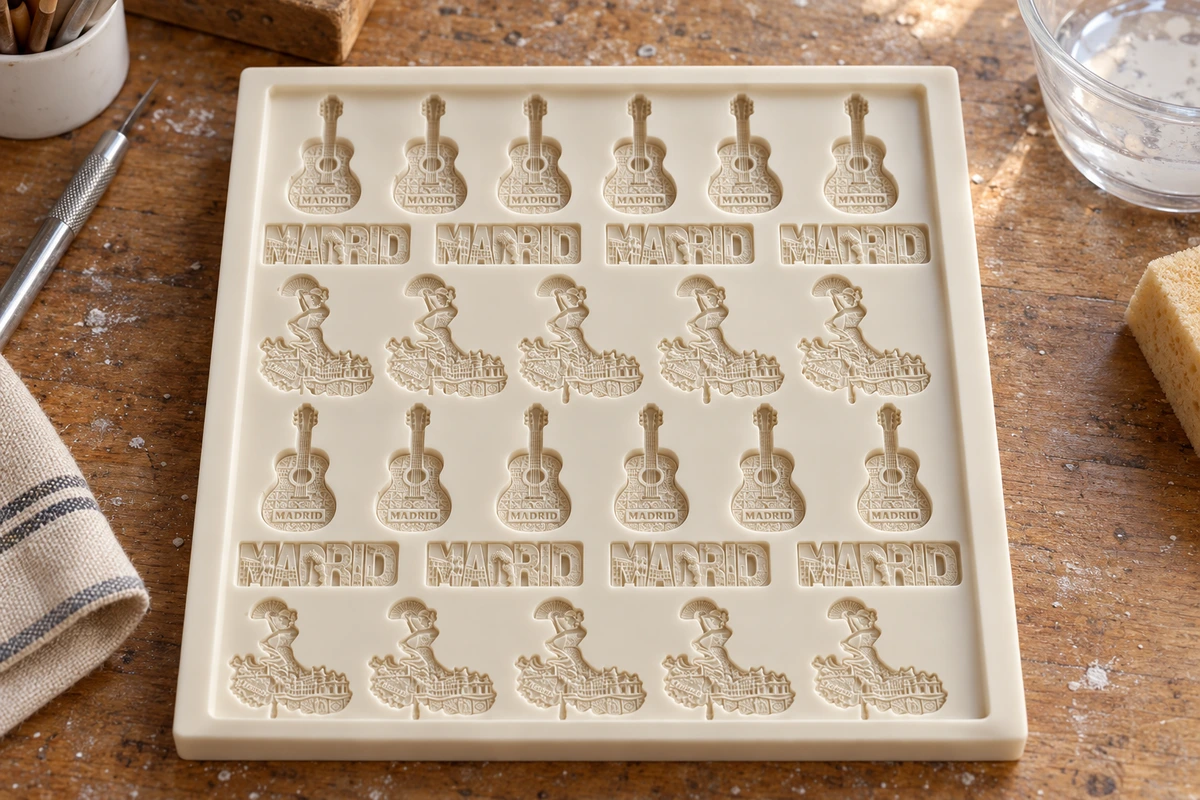
The white patterns are fixed to a base and arranged for a multi-cavity silicone production mold. Silicone reproduces their surface and relief. The supplied actual production videos illustrate individual molds, repeated patterns and larger production molds; the Madrid mold photograph shows the featured design cavities. Mold material, mixing and curing conditions must follow the selected material system, rather than a universal recipe.
STEP 05
Cast and inspect the resin blanks
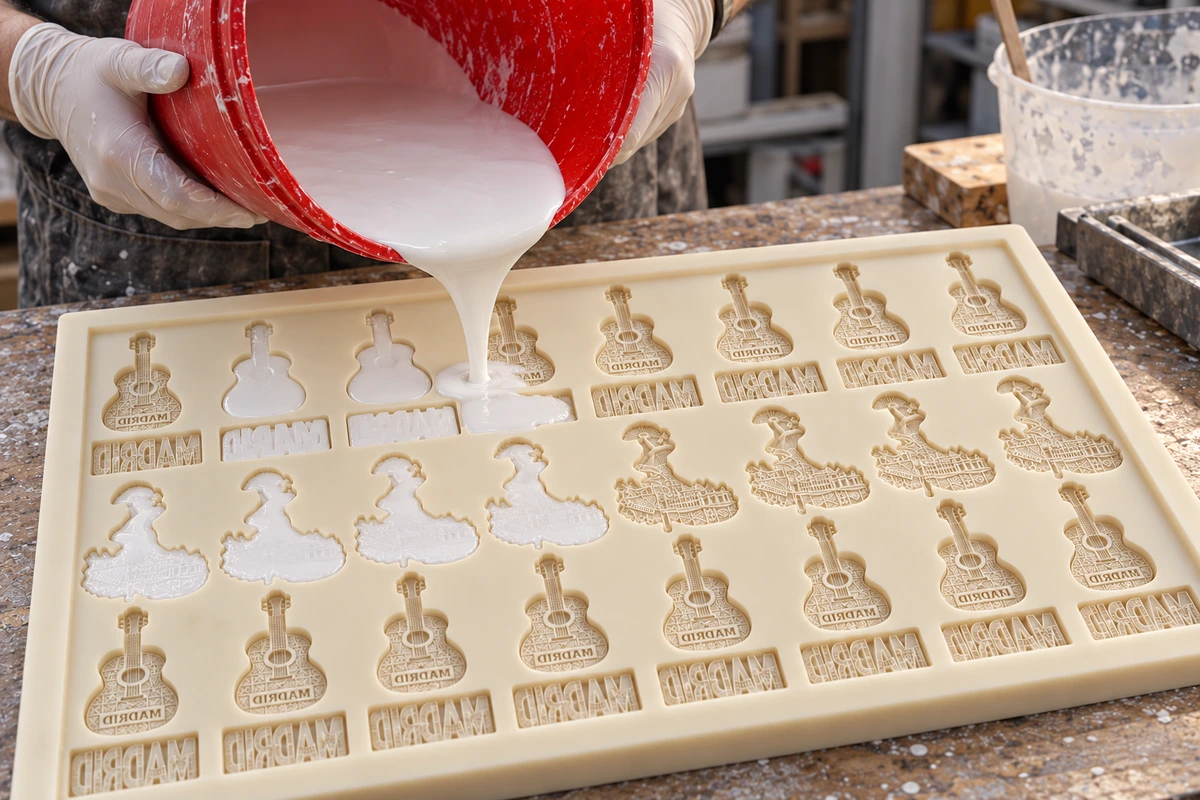
White resin material is poured into the cavities, the backs are levelled, and the castings are demolded after setting. Check for missing detail, visible voids, chipped projections and inconsistent shape. In the process described here, most blanks need no additional surface treatment. Local imperfections may receive selective sanding; routine sanding or primer application is not claimed for every piece. The formulation, mixing ratio and demolding time remain material-specific.
STEP 06
Align the artwork, print and cure with UV light
The colour artwork is positioned over the corresponding resin shape and printed onto the surface. UV light cures the ink. The relief comes from casting; the colour comes from printing. This is not the same as making the whole magnet from UV-curing 3D-printing resin.
A successful sample needs more than an attractive digital file. Confirm colour placement against molded landmarks and lettering, legibility at final size, and print definition across the actual relief. Surface-height variation, object stability and the ink/substrate combination affect the result. Printer-specific settings must be validated on the real blank; product thickness is not a measure of printable relief depth.
In this production route, no routine primer treatment is claimed. Equipment manufacturers recommend test printing on the actual substrate; any treatment should be selected only when the actual sample and material compatibility justify it. Ink adhesion and full curing should be assessed separately from whether the image simply looks dry. No fixed printer model, resolution, lamp setting or second curing pass is asserted here.
STEP 07
Install the magnet and inspect the assembled product
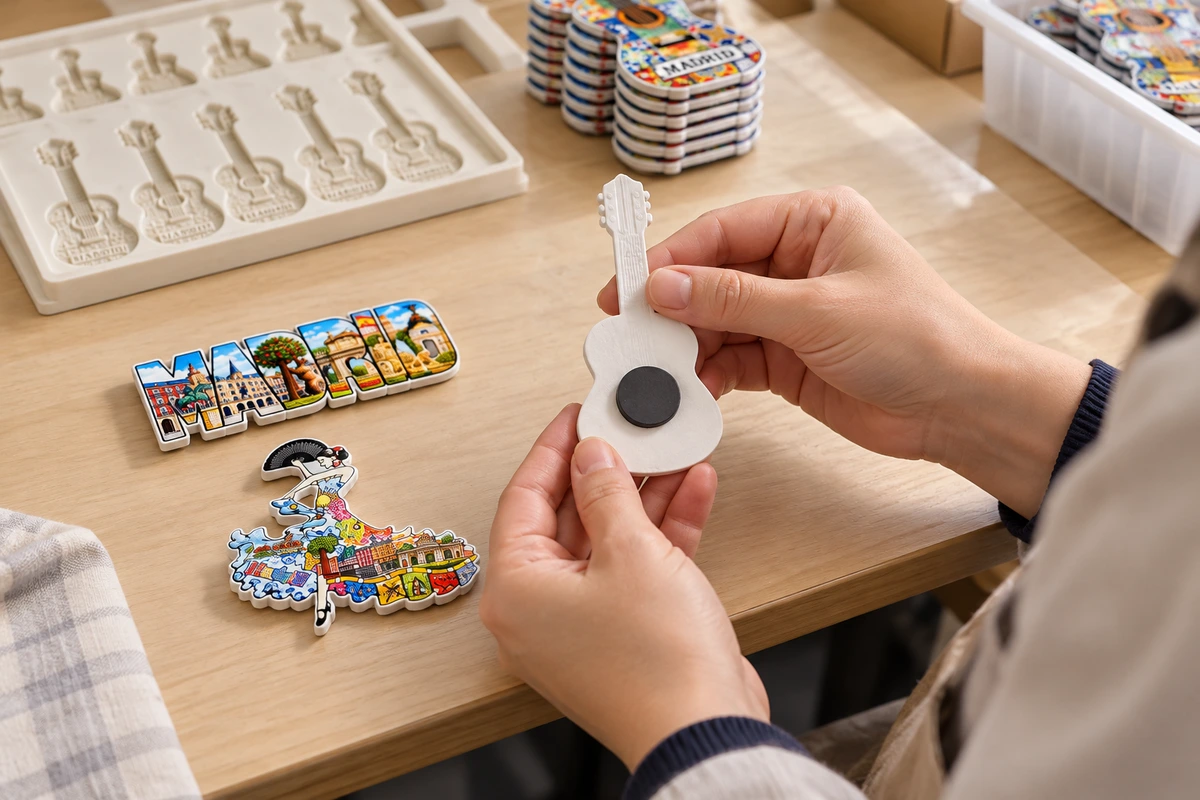
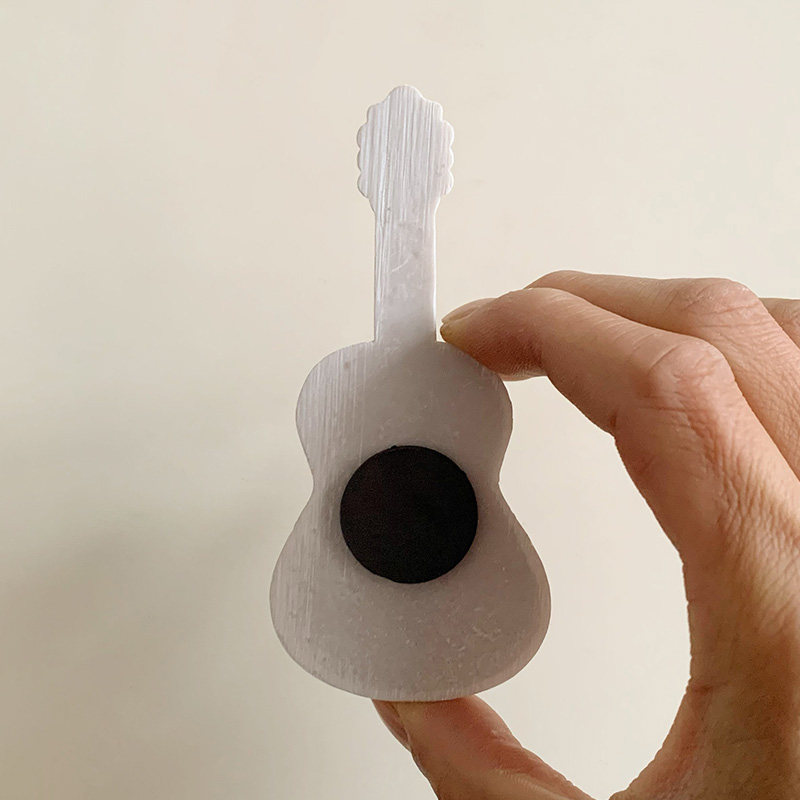
After UV curing is complete, the magnetic backing is installed. The actual Madrid guitar photograph shows one hard black round magnetic disc on the back. Review placement, attachment, back finish and the complete assembly. Check the agreed mounting surface and handling requirements with a sample; a black disc alone does not establish magnet grade or holding force.
Inspect the finished front for artwork alignment, wording, visible colour defects and damaged edges. Agree any adhesion, rubbing or backing-attachment checks before production rather than implying an unverified certification or universal test result.
STEP 08
Pack in transparent hanging-hole bags
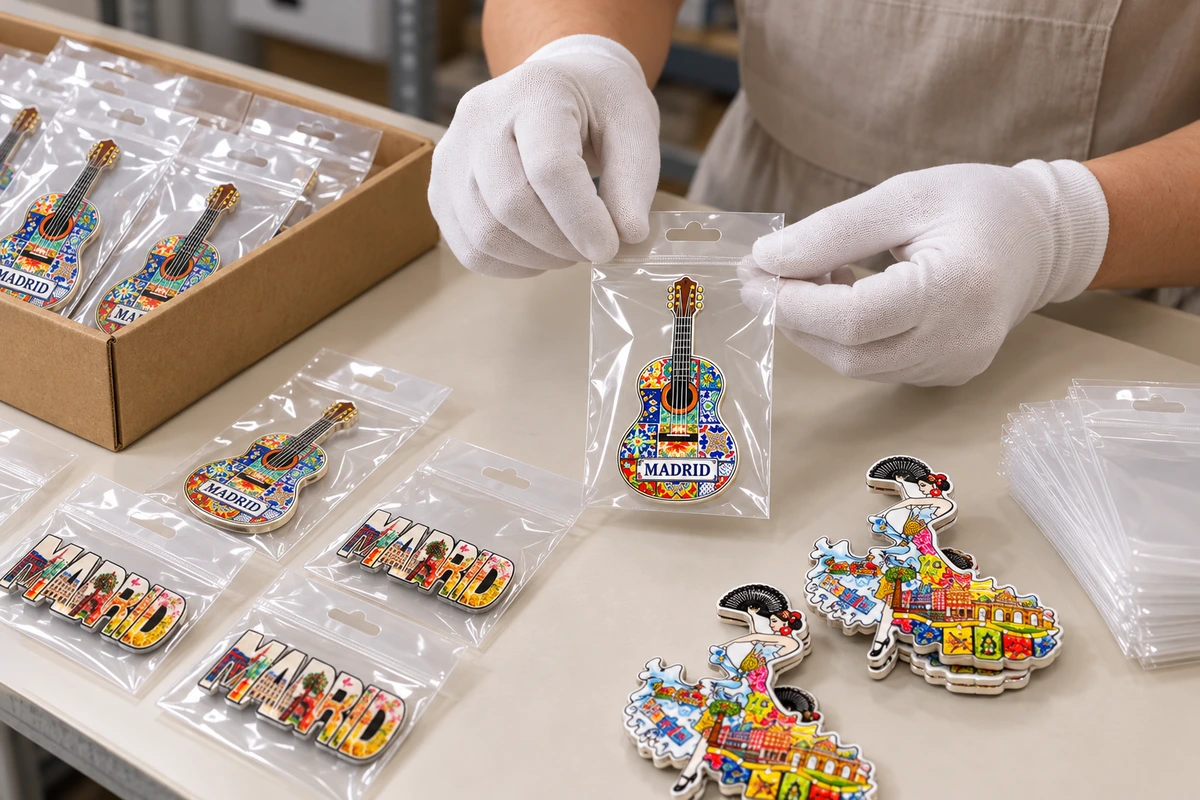
After inspection, each finished magnet is placed in a transparent hanging-hole bag. Review the bag fit, product orientation, seal and hanging area with the actual product. The supplied photographs show the Madrid designs individually packaged. A retail bag is not proof of transport protection: confirm additional protection and carton arrangements for the selected shape and shipping route.
BUYER CONFIRMATION
Approve more than the artwork.
- Artwork: destination spelling, version, outline and dimensions.
- Physical original: relief, fragile projections and recognisable detail.
- Printed sample: colour registration, legibility and agreed adhesion checks.
- Assembly: magnetic backing, attachment and intended mounting surface.
- Packaging: bag fit, presentation and transit protection.
The featured order contained 2,880 pieces per design, 8,640 in total. Physical samples took approximately 5–7 days after artwork completion; bulk production took 30–35 calendar days. These project figures are not universal MOQ or timing promises. The three designs were roughly within a 7 × 5 cm range, with individual dimensions varying and thickness around 6–7 mm.
Sample approval checklist ↗PURCHASING QUESTIONS
Before you request a quotation.
Is the whole magnet made by UV printing?
No. The resin body is cast in a silicone mold. UV printing adds colour to the cast surface.
Are the white mold patterns the products that get printed?
No. White mold patterns help create the multi-cavity production mold. The final resin blanks are cast from that mold for printing.
Does every blank need sanding?
Not in the process described here. Most need no additional treatment; local imperfections may receive selective sanding.
Does UV ink dry naturally?
UV ink cures under ultraviolet light. Do not describe curing as ordinary air drying; handling conditions depend on the actual ink and process.
Is primer always required?
No universal rule is claimed. Evaluate the actual resin surface and ink combination by test printing; this production route does not claim routine primer use.
Can every deep relief be printed equally clearly?
No such guarantee should be assumed. Review the actual relief, print alignment and surface-height variation in a physical printed sample.
When is the magnet installed?
For the confirmed route described here, it is installed after UV curing, followed by inspection and individual packaging.
Are the three designs identical in size?
No. Their approximate dimensions fall around a 7 × 5 cm range, but the individual outlines and dimensions differ. Confirm a drawing for each design.
How long did sampling take for this example?
The reported physical-sample period was approximately 5–7 days after design completion. It is a project example, not a fixed promise for every order; transport is separate.
What should I send for a quotation?
Send the destination, artwork or idea, target dimensions, design count, quantity per design, packaging and required delivery location/date. Identify undecided points.
View the supplied source images
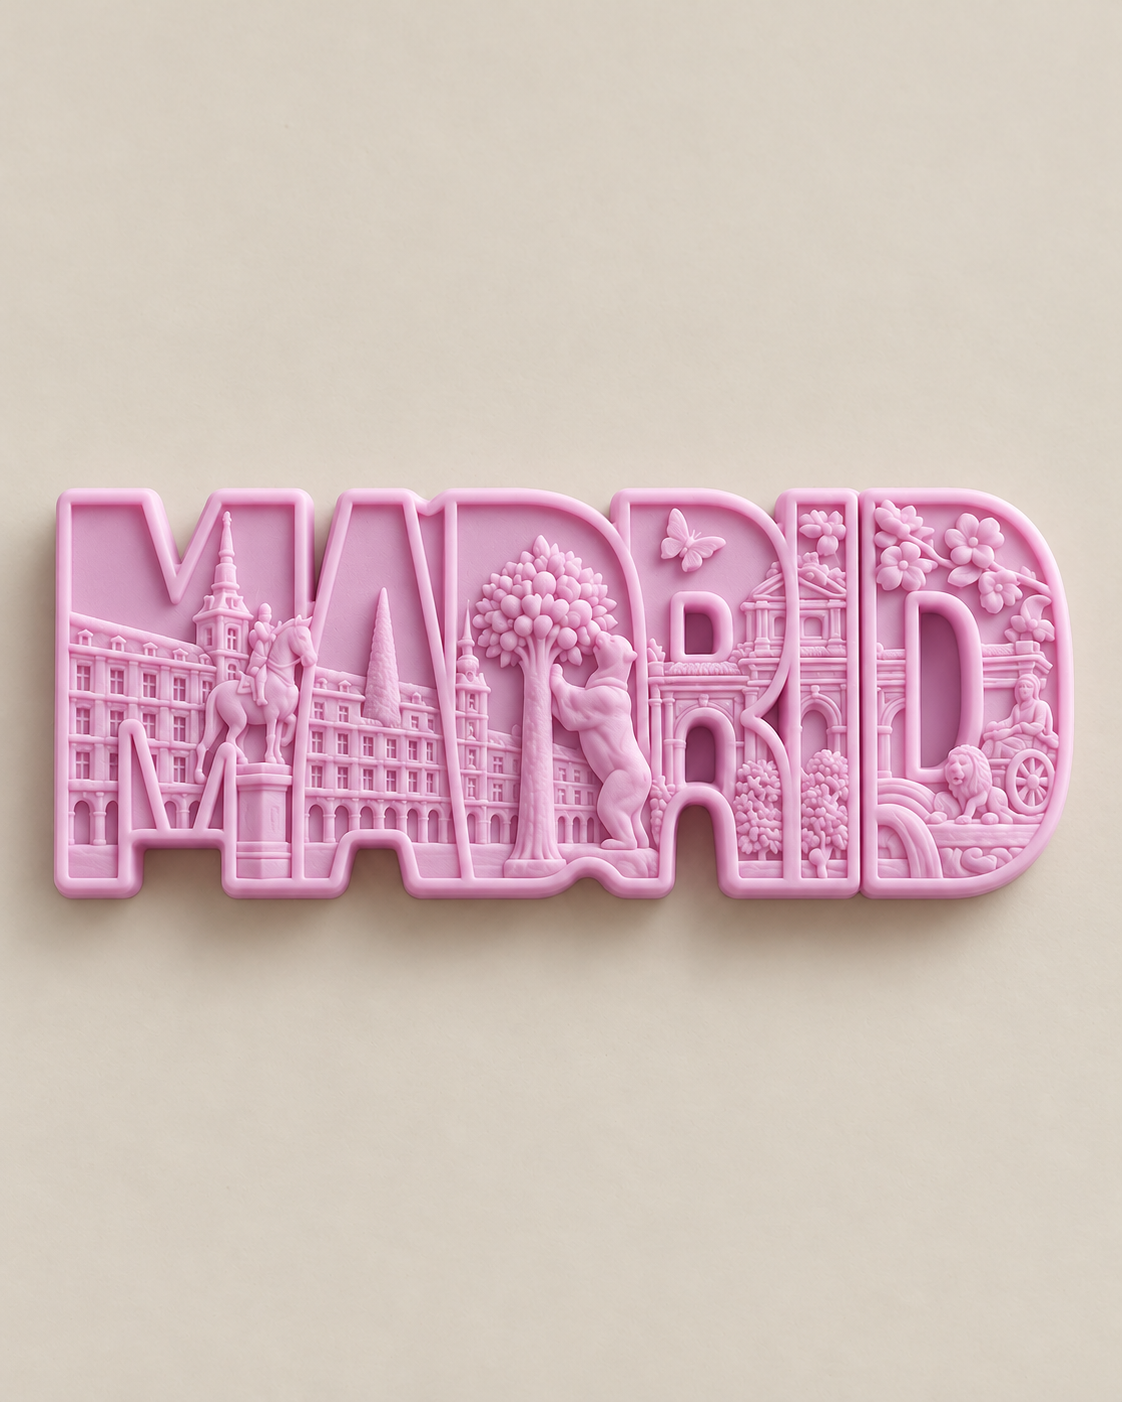
For checking original product detail, compare the source images below with the edited presentation boards.
Physical originals and production mold
Artwork



White mold patterns

Finished products

Packaging